TEKKEN8 Jun Kazama Main Techniques
・TEKKEN8 TOP
Jun Kazama is a defensive character with a strong neutral game. This guide introduces easy-to-use core moves that are great for beginners. From safe pokes to counter tools, these essentials will help you build a solid foundation.
Main Techniques video
Main Techniques Moves
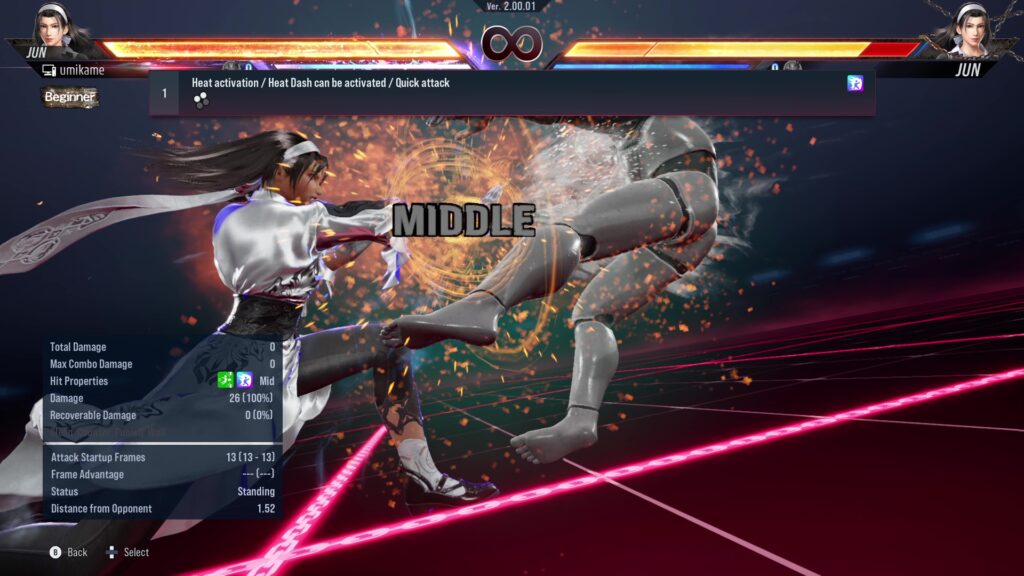
1.Heat activation / Heat Dash can be activated / Quick attack
| Explanation | Note |
|---|---|
| 1+2 |
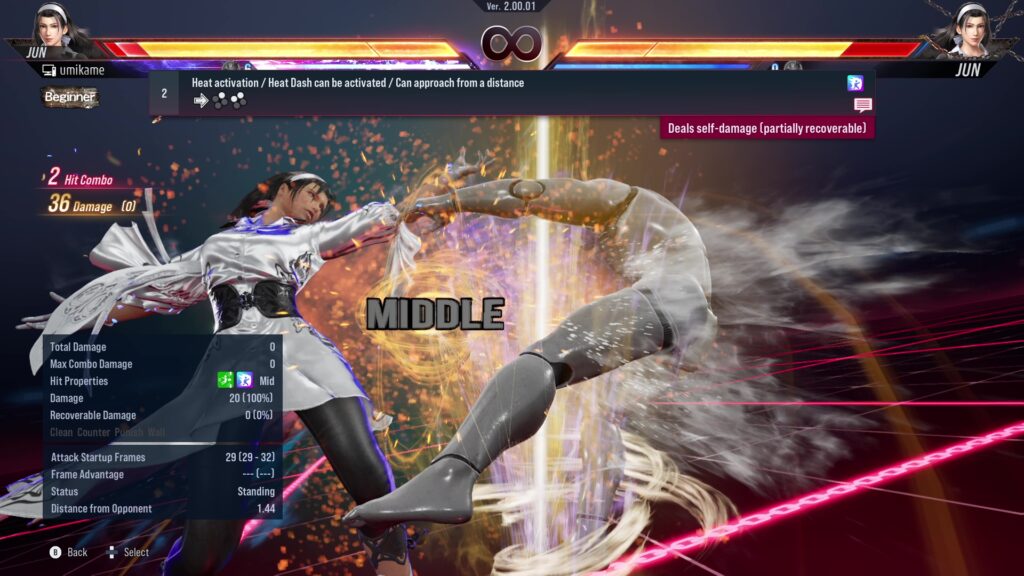
2.Heat activation / Heat Dash can be activated / Can approach from a distance
| Explanation | Note |
|---|---|
| f2,1+2 | Deals self-damage[partially recoverable] |
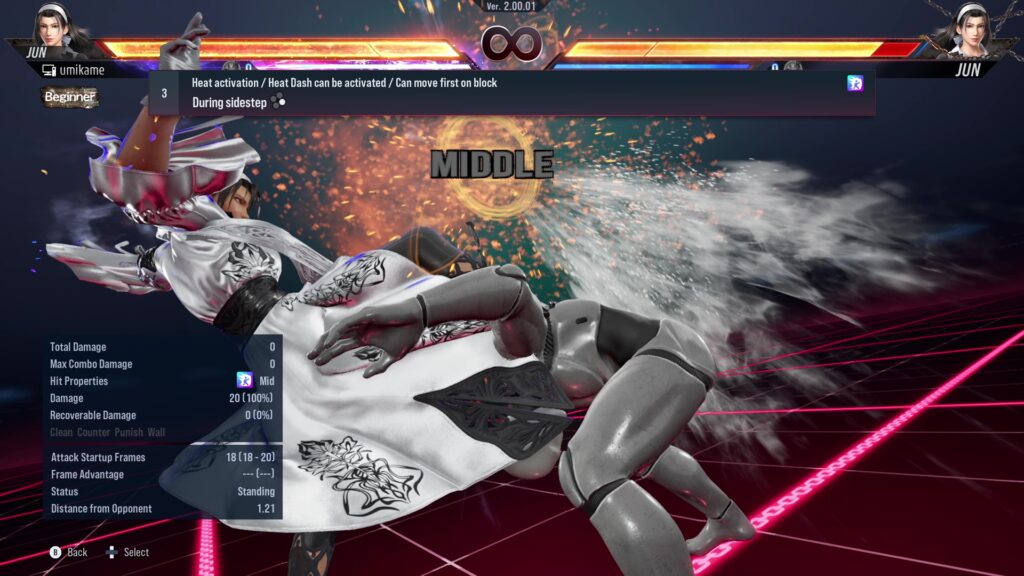
3.Heat activation / Heat Dash can be activated / Can move first on block
| Explanation | Note |
|---|---|
| During sidestep 4 |
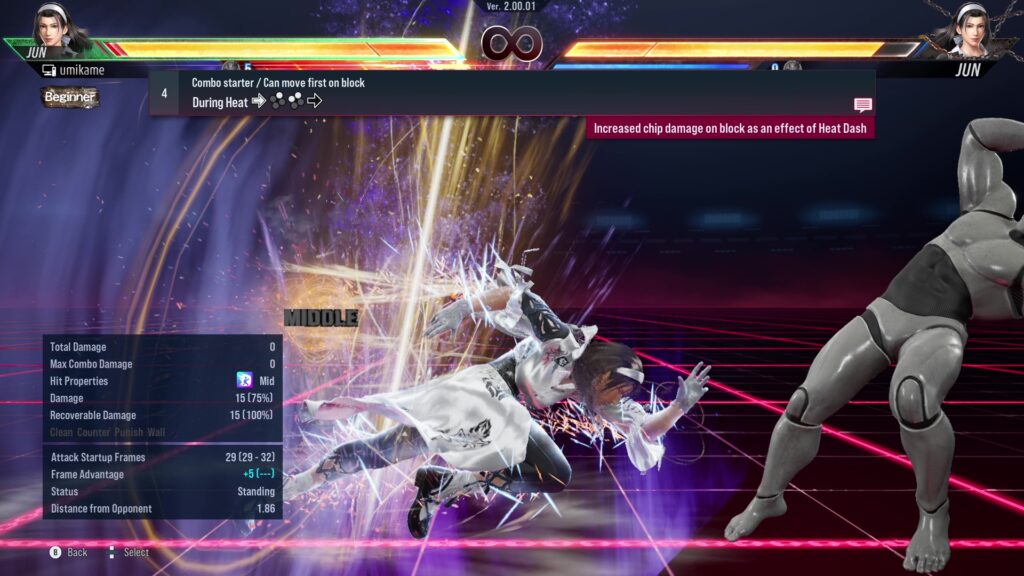
4.Combo starter / Can move first on block
| Explanation | Note |
|---|---|
| During Heat f2,1+2,F | Increased chip damage on block as effect of Heat Dash |
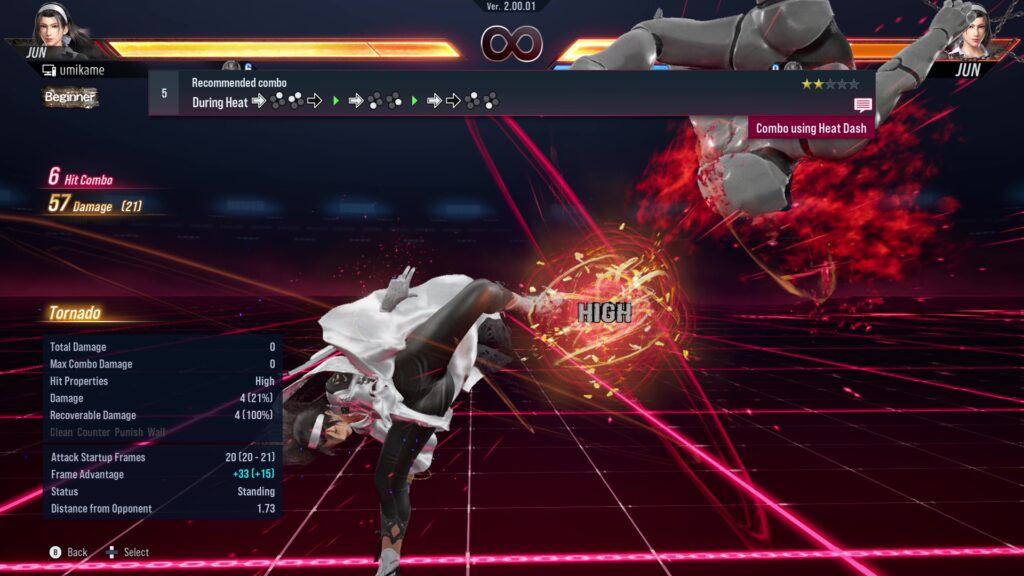
5.Recommended combo
| Explanation | Note |
|---|---|
| During Heat f2,1+2,F[HD]→f3,4 T!→ff2,3 | Combos that use Heat Dash |
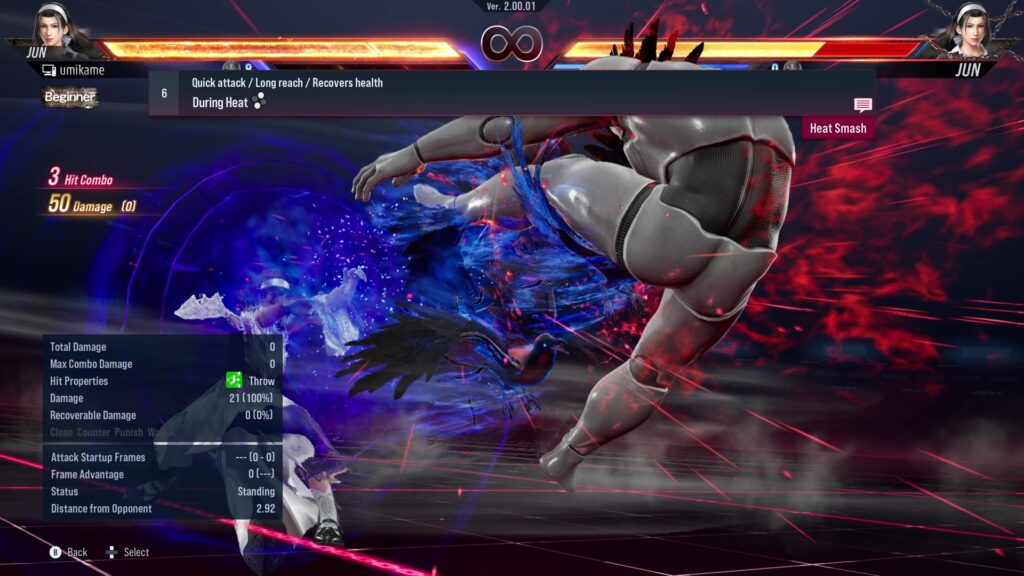
6.Quick attack / Long reach / Recovers health
| Explanation | Note |
|---|---|
| During Heat 2+3 | Heat Smash |
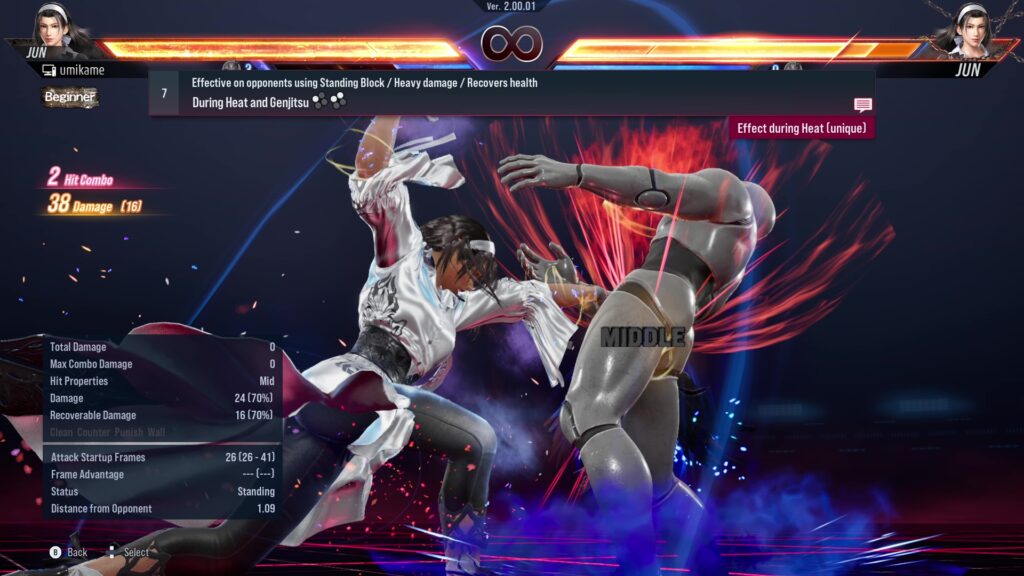
7.Effective on opponents using Standing Block / Heavy damage / Recovers health
| Explanation | Note |
|---|---|
| During Heat and Genjitsu 2,1+2 | Effects during Heat[unique] |
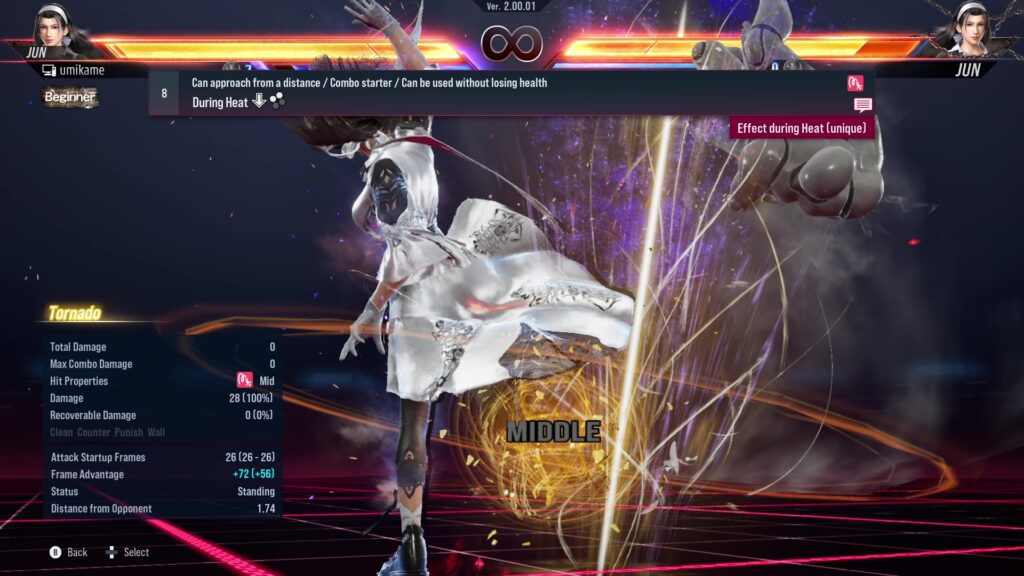
8.Can approach from a distance / Combo starter / Can be used without losing health
| Explanation | Note |
|---|---|
| During Heat d1+2 | Effects during Heat[unique] |
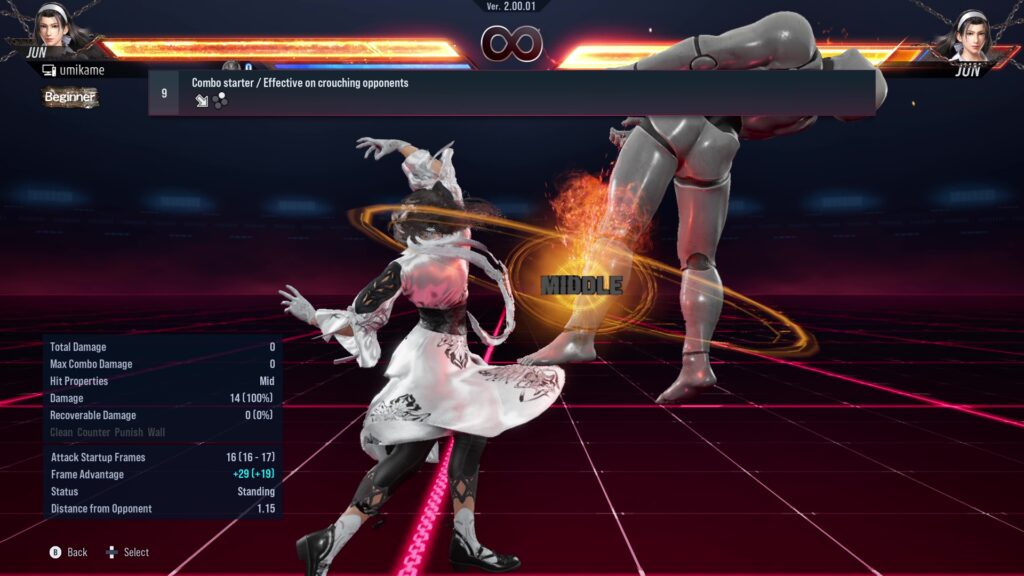
9.Combo starter / Effective on crouching opponents
| Explanation | Note |
|---|---|
| df2 |
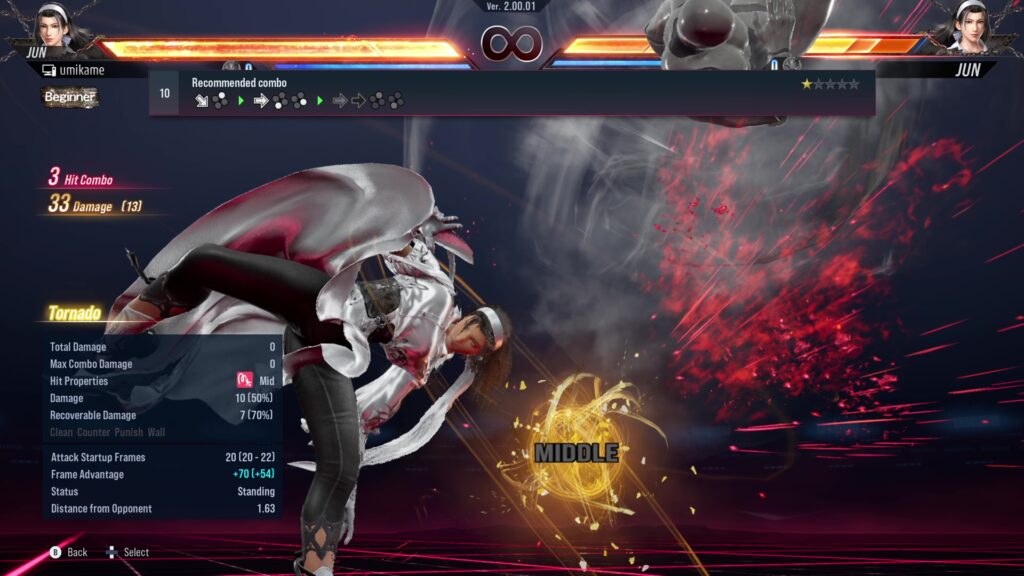
10.Recommended combo
| Explanation | Note |
|---|---|
| df2→f3,4 T!→ff2,3 |
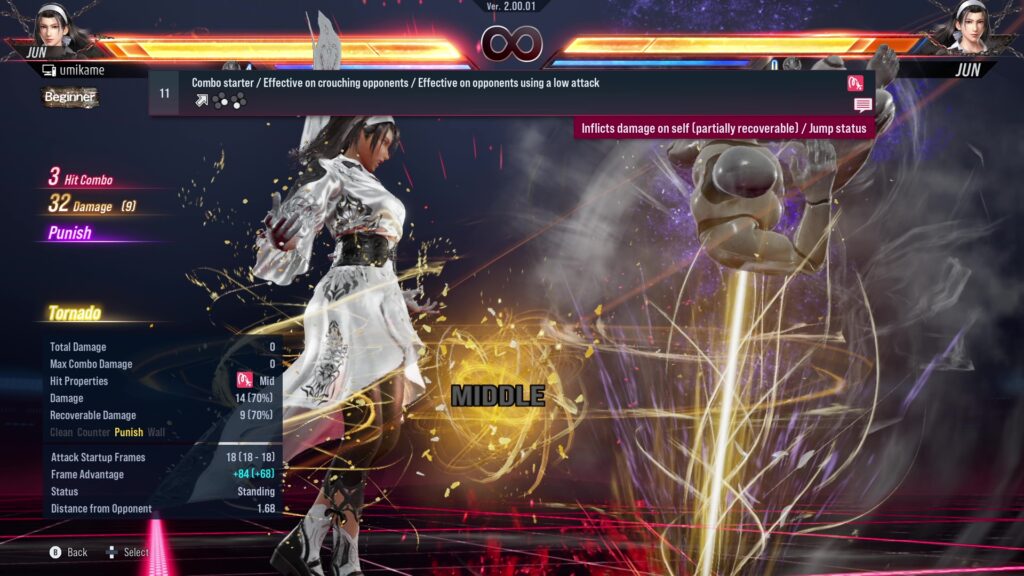
11.Combo starter / Effective on crouching opponents / Effective on opponents using a low attack
| Explanation | Note |
|---|---|
| uf4,3 | Inflicts damage on self[parially recoverable] / Jump Status |
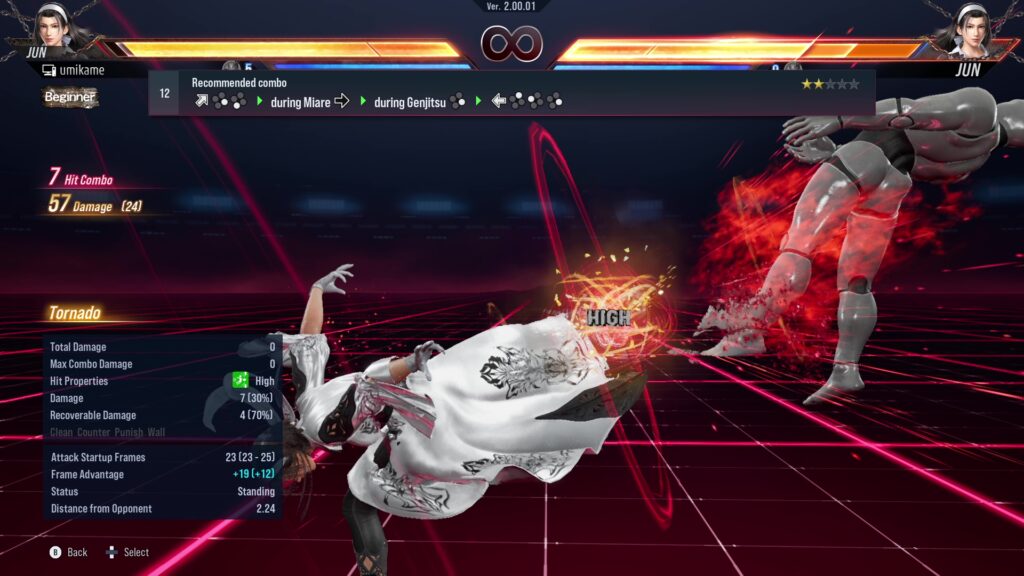
12.Recommended combo
| Explanation | Note |
|---|---|
| uf4,3 T!→during Miare F→during Genjitsu 4→b2,1,4 |
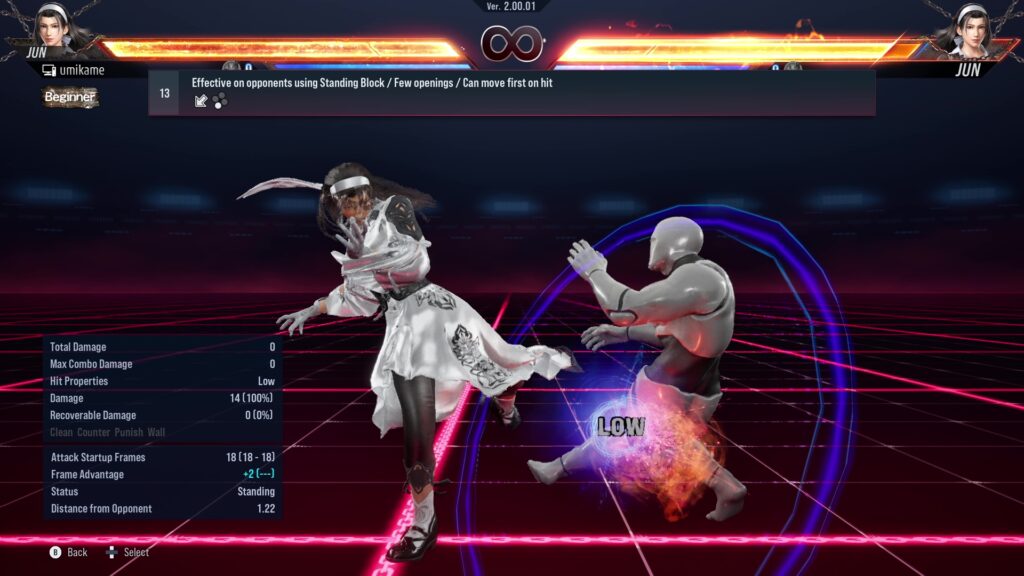
13.Effective on opponents using Standing Block / Few openings / Can move first on hit
| Explanation | Note |
|---|---|
| db3 |
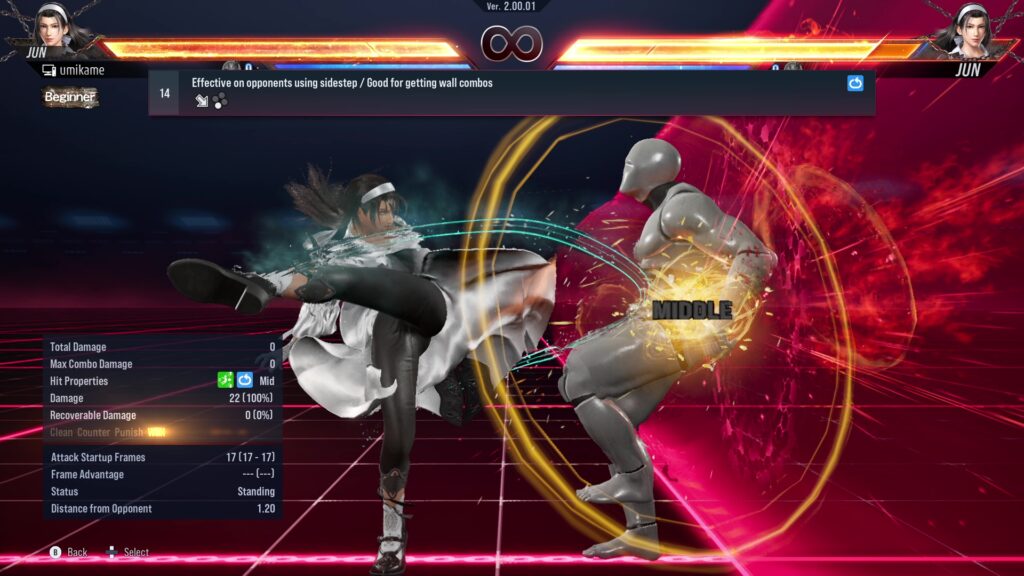
14.Effective on opponents using sidestep / Good for getting wall combos
| Explanation | Note |
|---|---|
| df3 |
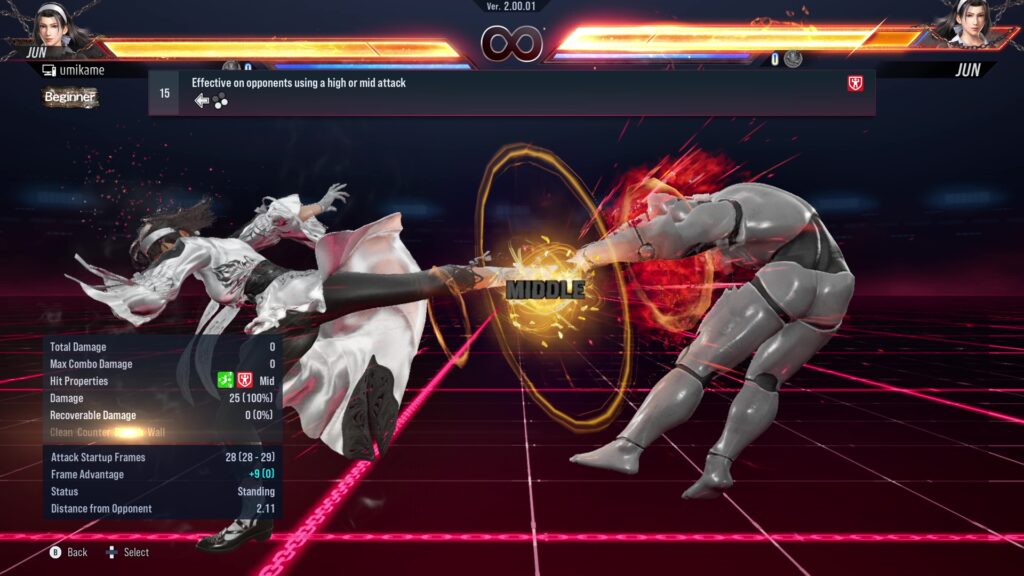
15.Effective on opponents using a high or mid attack
| Explanation | Note |
|---|---|
| b3+4 |
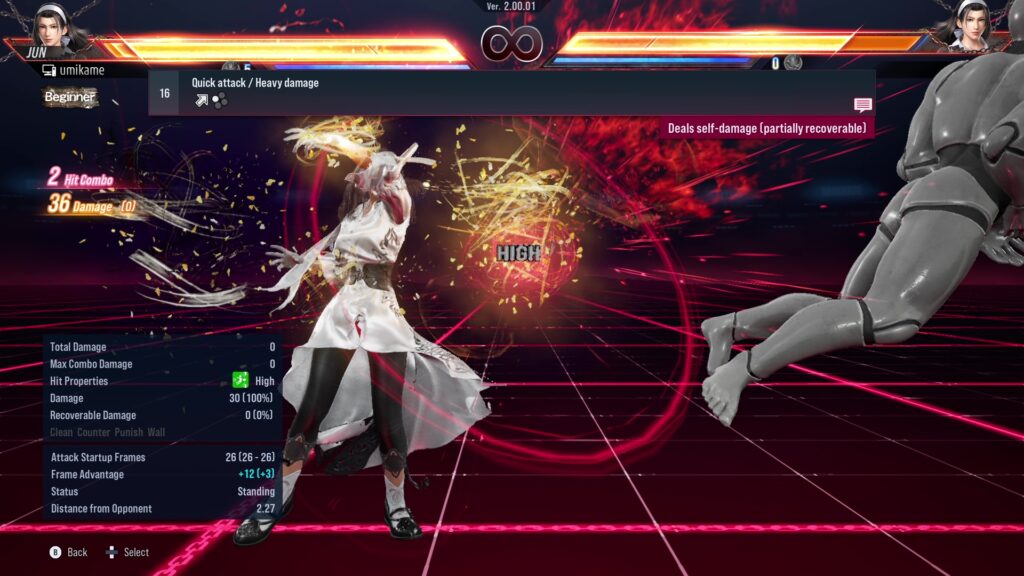
16.Quick attack / Heavy damage
| Explanation | Note |
|---|---|
| uf1 | Deals self-damage[partially recoverable] |
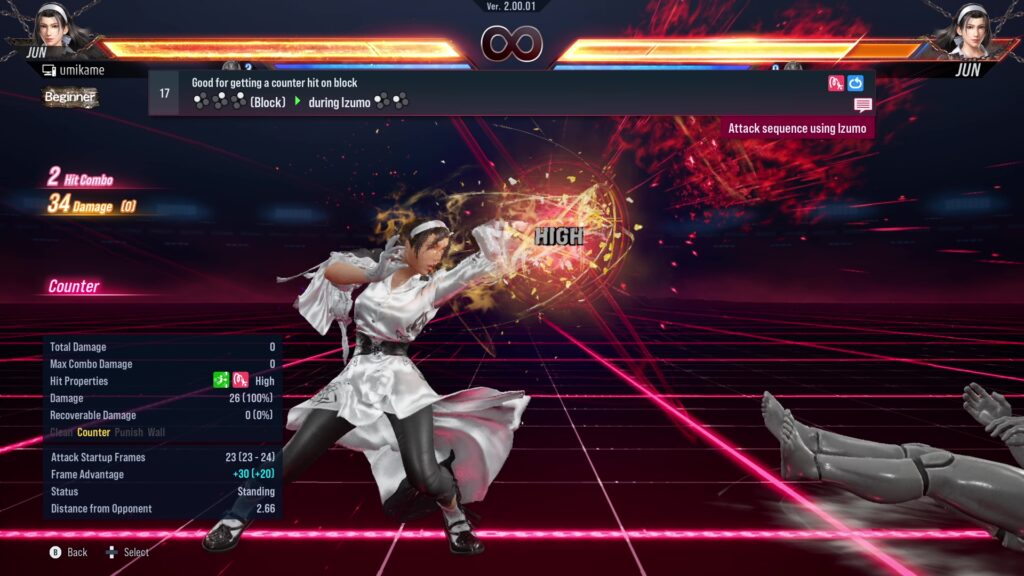
17.Good for getting a counter hit on block
| Explanation | Note |
|---|---|
| 1,2,2[Block]→during Izumo 1,1 | Attack sequence using Izumo |
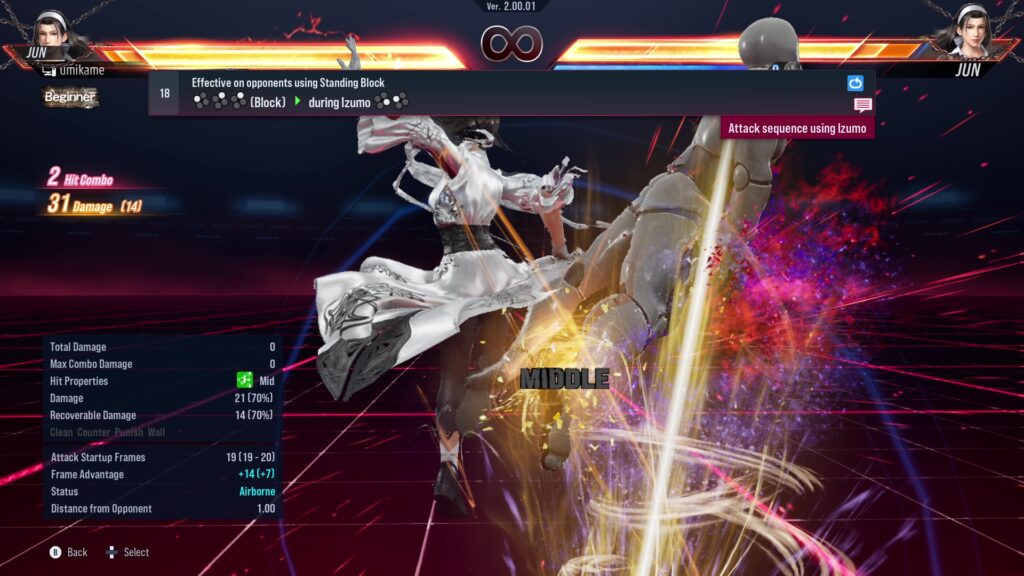
18.Effective on opponents using Standing Block
| Explanation | Note |
|---|---|
| 1,2,2[Block]→during Izumo 4,1 | Attack sequence using Izumo |
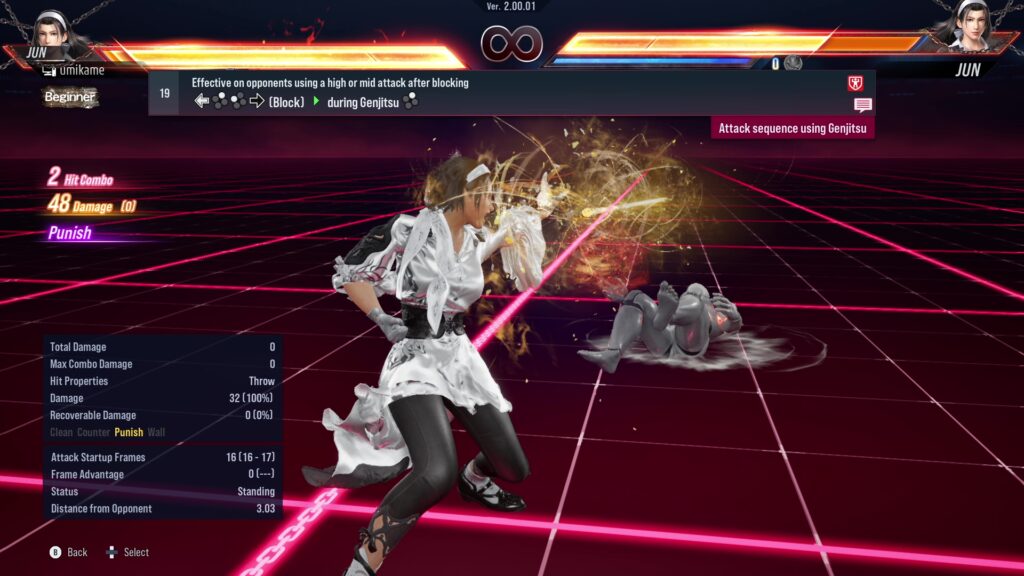
19.Effective on opponents using a high or mid attack after blocking
| Explanation | Note |
|---|---|
| b2,1,F[Block]→during Genjitsu 2 | Attack sequence using Genjitsu |
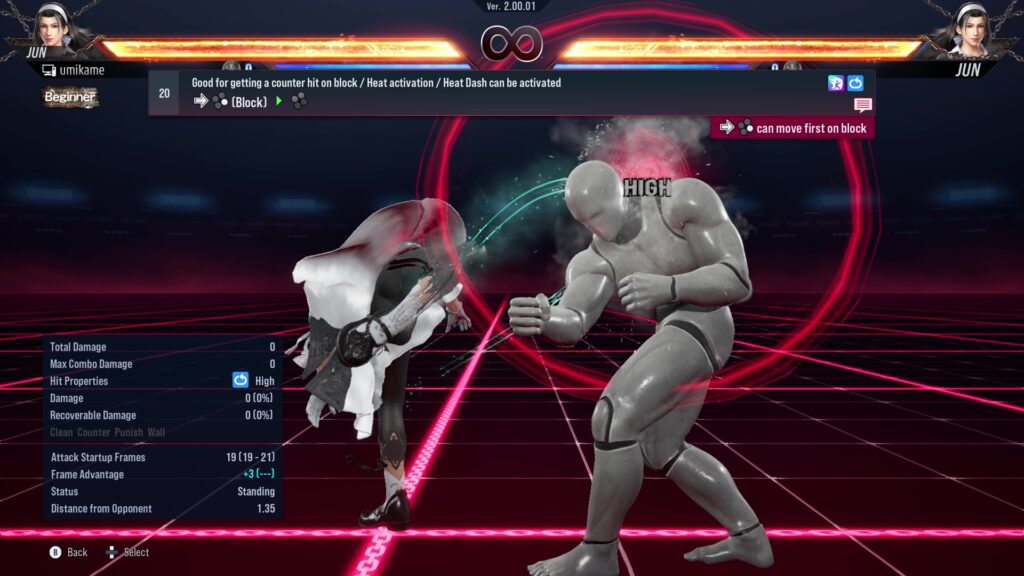
20.Good for getting a counter hit on block / Heat activation / Heat Dash can be activated
| Explanation | Note |
|---|---|
| f4[Block]→1+2 | f4 can move first on block |




コメント