TEKKEN8 Raven Main Techniques
TEKKEN8 Raven Main Techniques Season1
・TEKKEN8 TOP
Main Techniques video
Main Techniques Moves
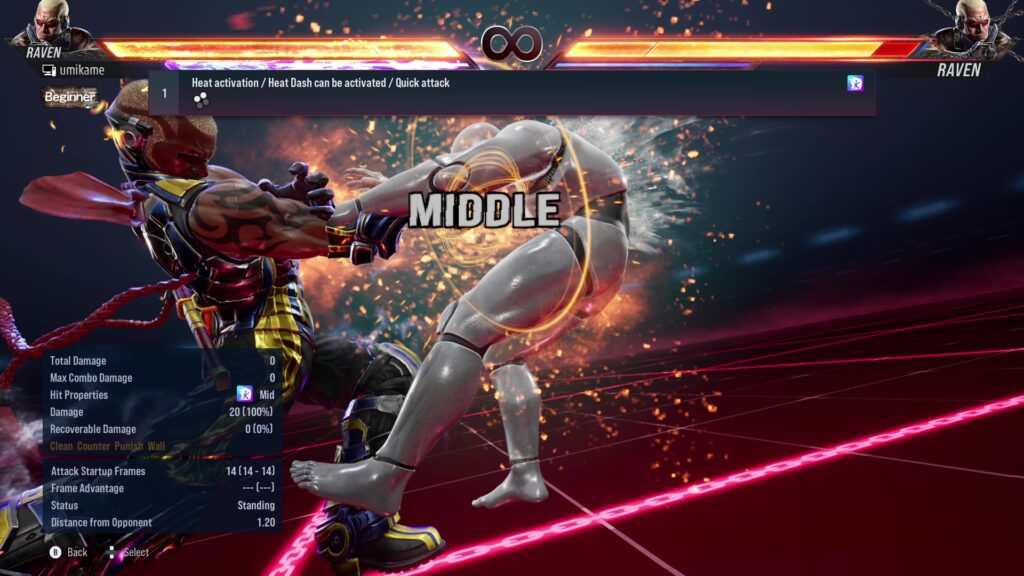
1.Heat activation / Heat Dash can be activated / Quick attack
| Explanation | Note |
|---|---|
| 1+2 |
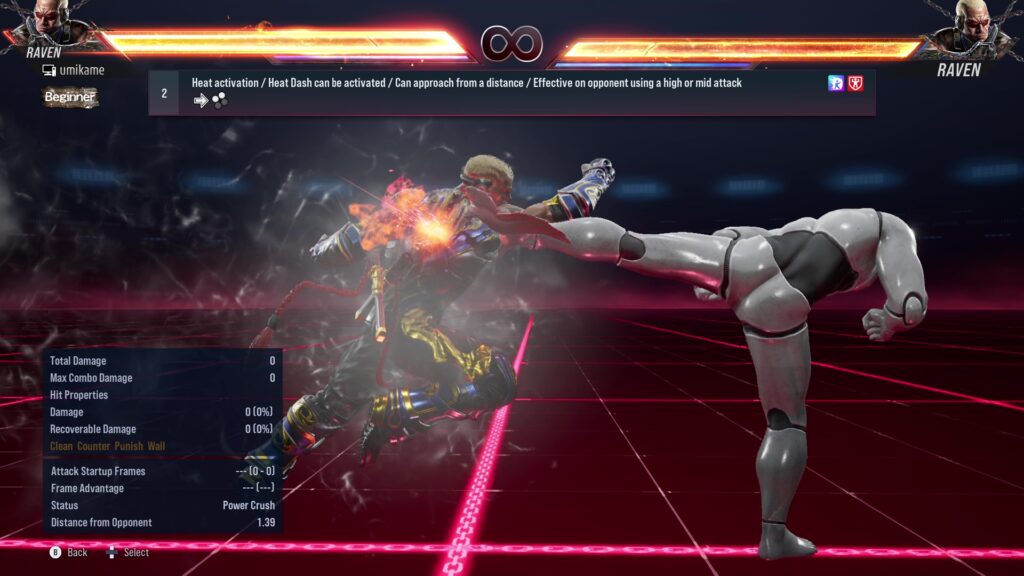
2.Heat activation / Heat Dash can be activated / Can approach from a distance / Effective on opponents using a high or mid attack
| Explanation | Note |
|---|---|
| f+1+2 |
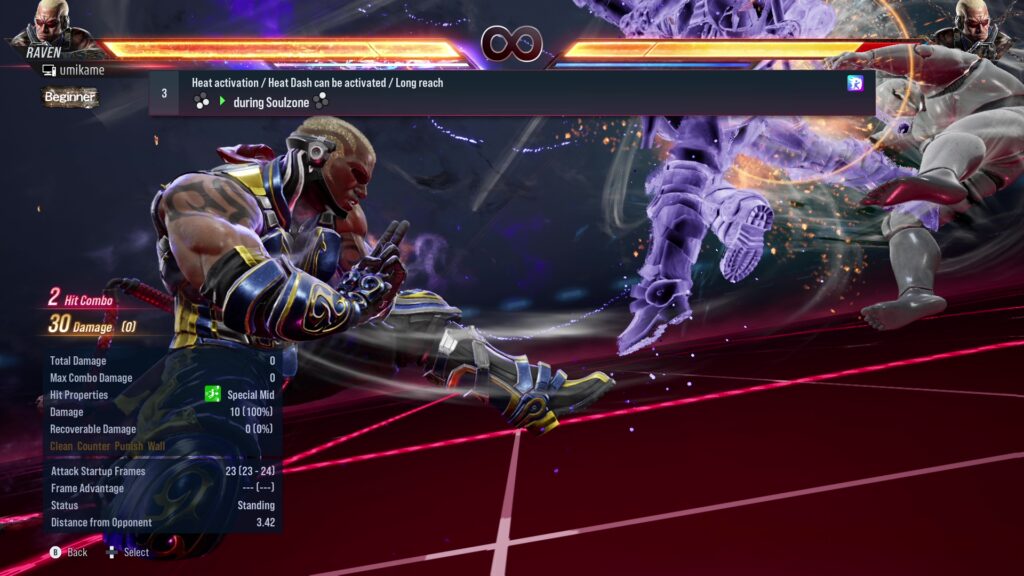
3.Heat activation / Heat Dash can be activated / Long reach
| Explanation | Note |
|---|---|
| 3+4→during Soulzone 2 |
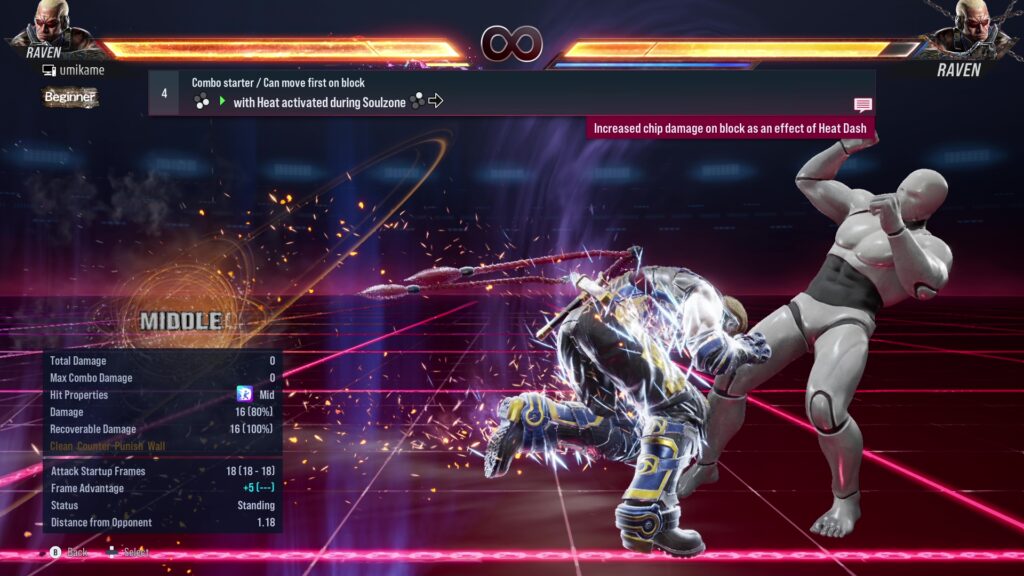
4.Combo starter / Can move first on block
| Explanation | Note |
|---|---|
| 3+4→during Soulzone 2,~f | Increased chip damage on block as effect of Heat Dash |
5.Recommended combo
| Explanation | Note |
|---|---|
| During Heat and Soulzone〔3+4,etc.〕2,~f(HD)→b+2,4,2 T!→3,3,4 | Combos that use Heat Dash |
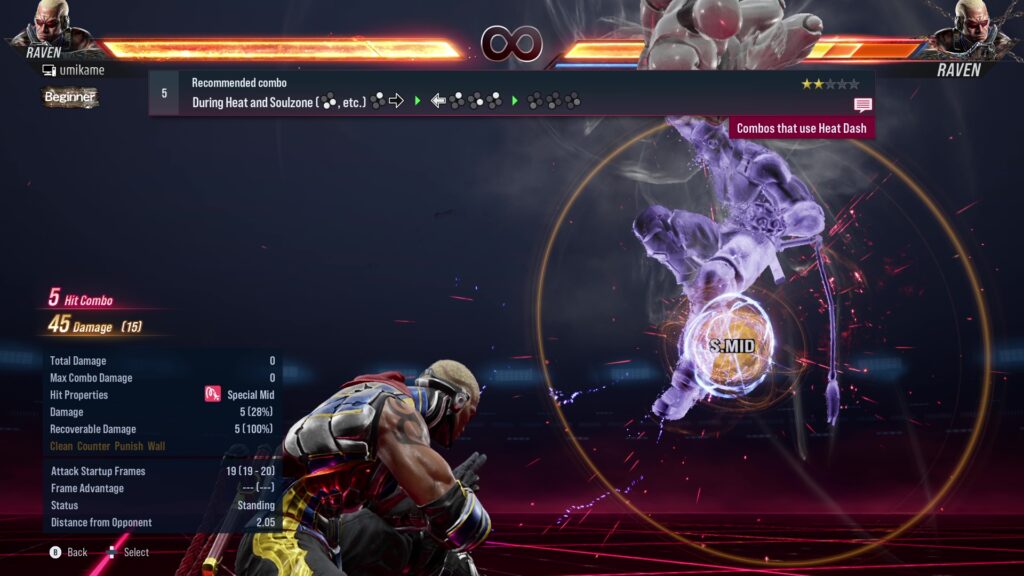
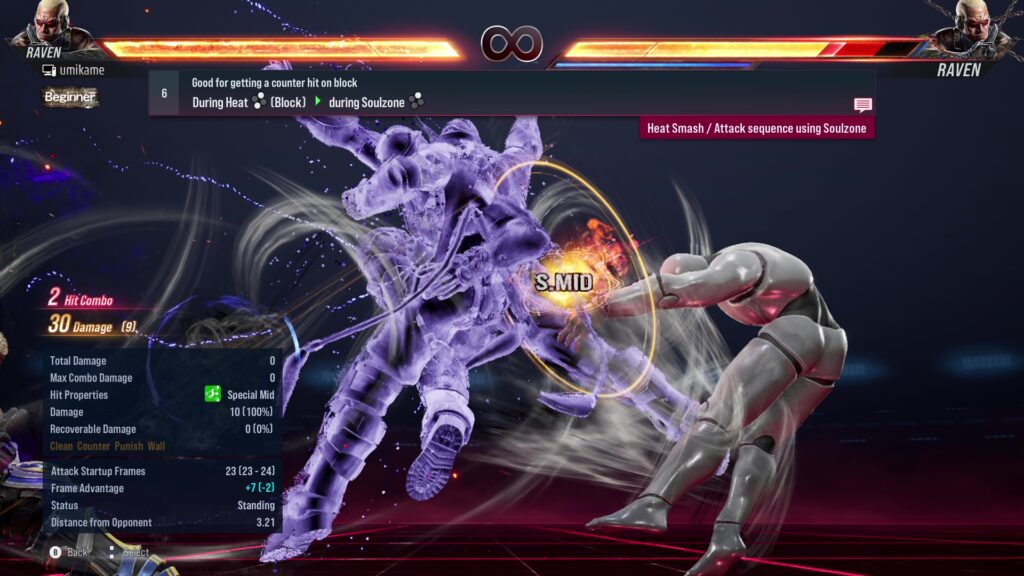
6.Good for getting a counter hit on block
| Explanation | Note |
|---|---|
| During Heat 2+3〔Block〕→during Soulzone 2 | Heat Smash / Attack sequence using Soulzone |
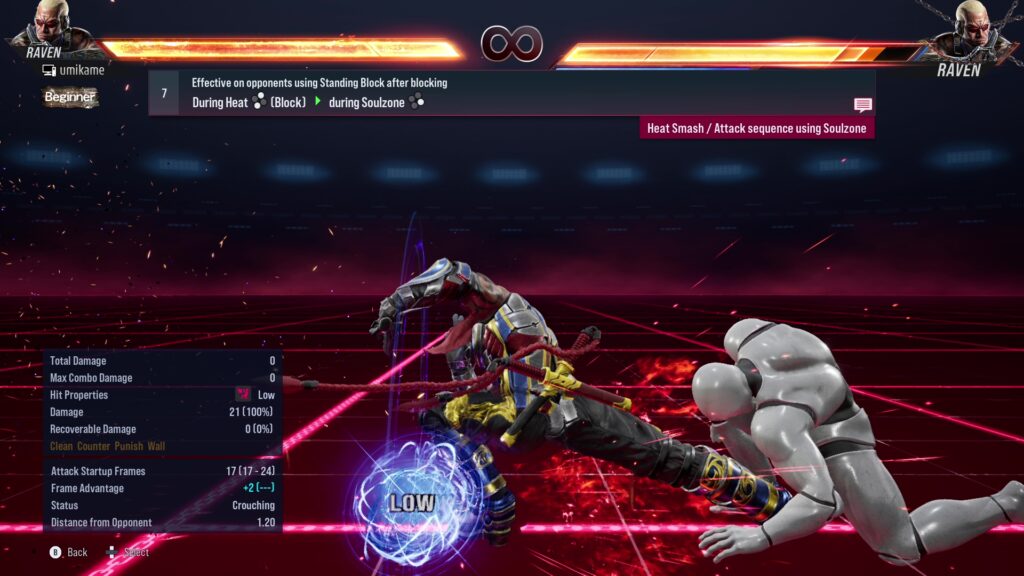
7.Effective on opponents using Standing Block after blocking
| Explanation | Note |
|---|---|
| During Heat 2+3〔Block〕→during Soulzone 4 | Heat Smash / Attack sequence using Soulzone |
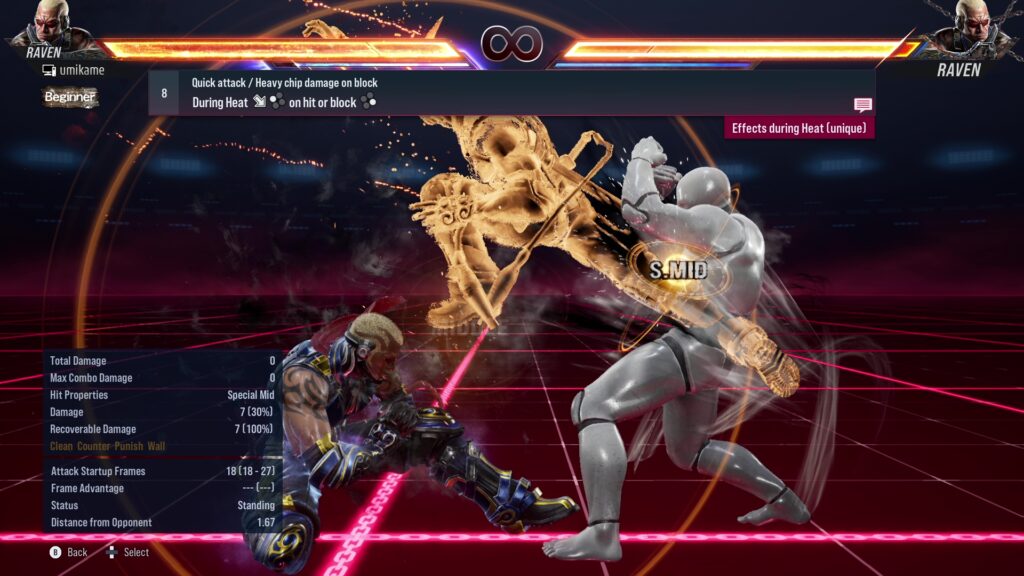
8.Quick attack / Heavy chip damage
| Explanation | Note |
|---|---|
| During Heat df+1 on hit or block 4 | Effects during Heat 〔unique〕 |
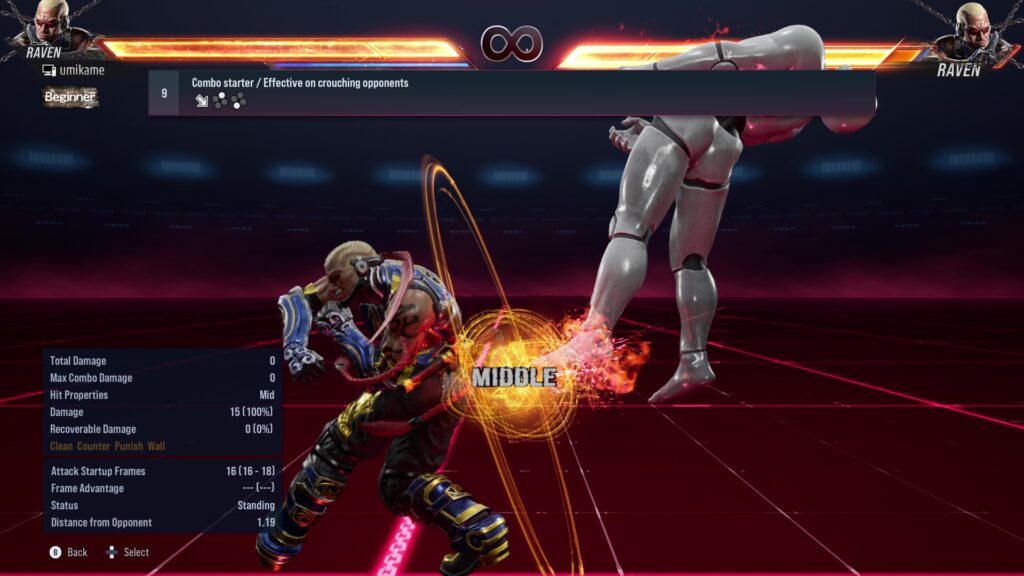
9.Combo starter / Effective on crouching opponents
| Explanation | Note |
|---|---|
| df+2,3 |
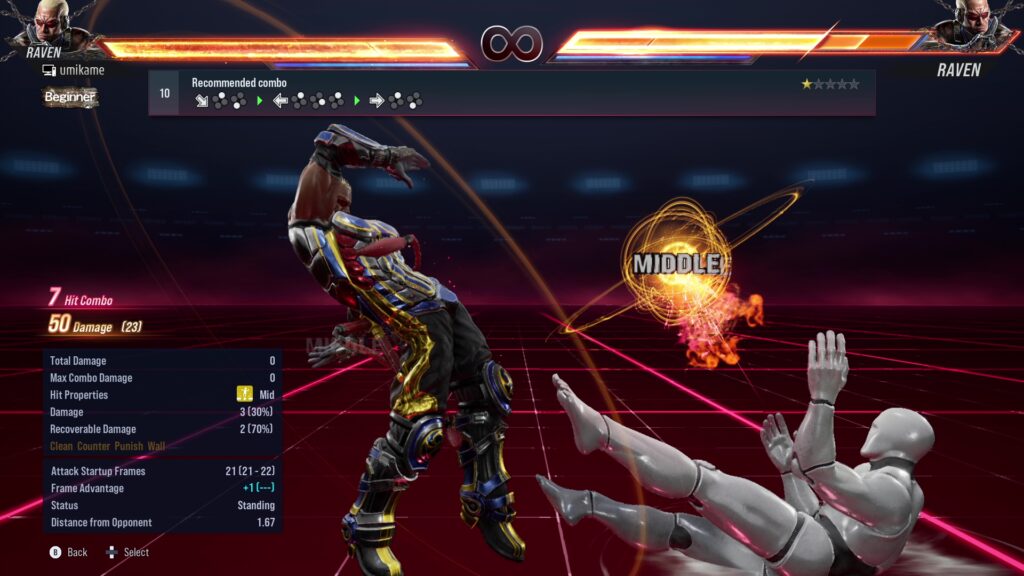
10.Recommended combo
| Explanation | Note |
|---|---|
| df+2,3→b+2,4,2 T!→f+2,3 |
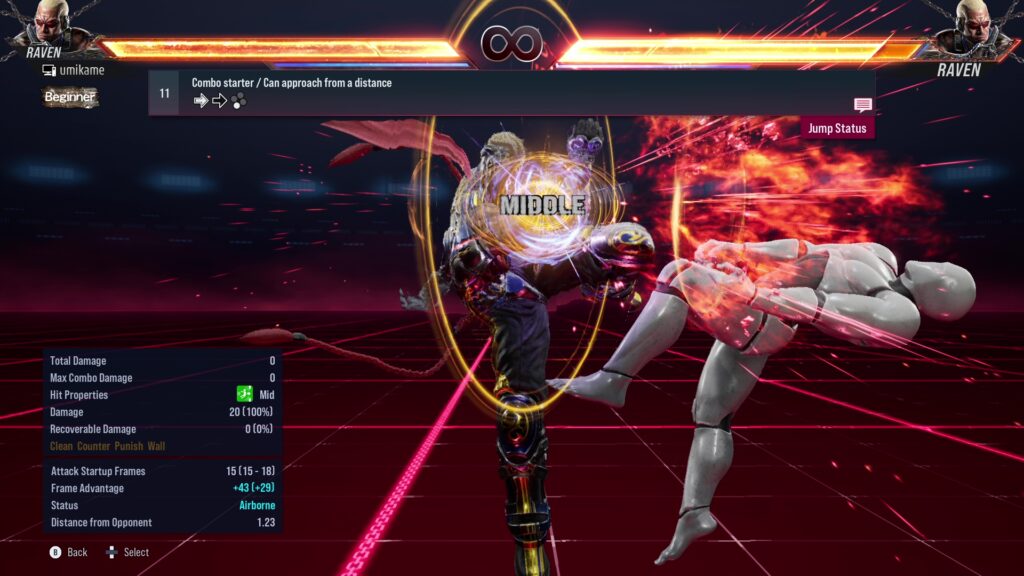
11.Combo starter / Can approach from a distance
| Explanation | Note |
|---|---|
| ff+3 | Jump Status |
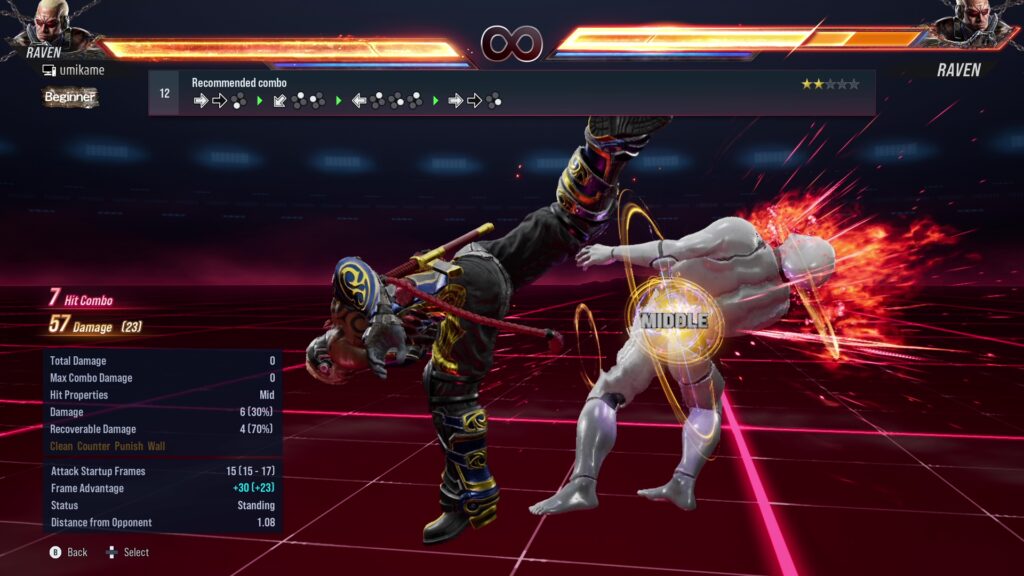
12.Recommended combo
| Explanation | Note |
|---|---|
| ff+3→db+2,1→b+2,4,2 T!→ff+4 |
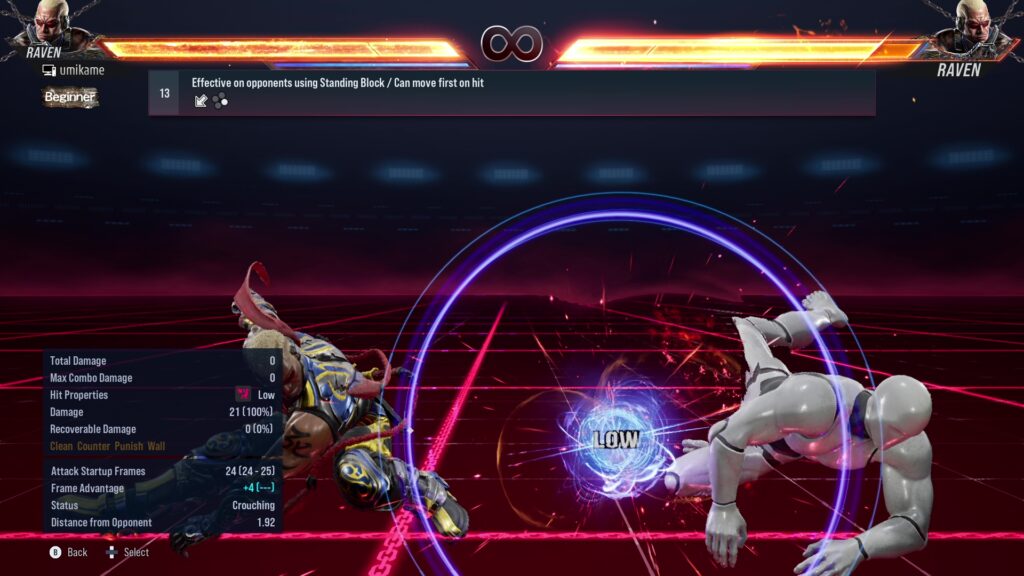
13.Effective on opponents using Standing Block / Can move first on hit
| Explanation | Note |
|---|---|
| db+4 |
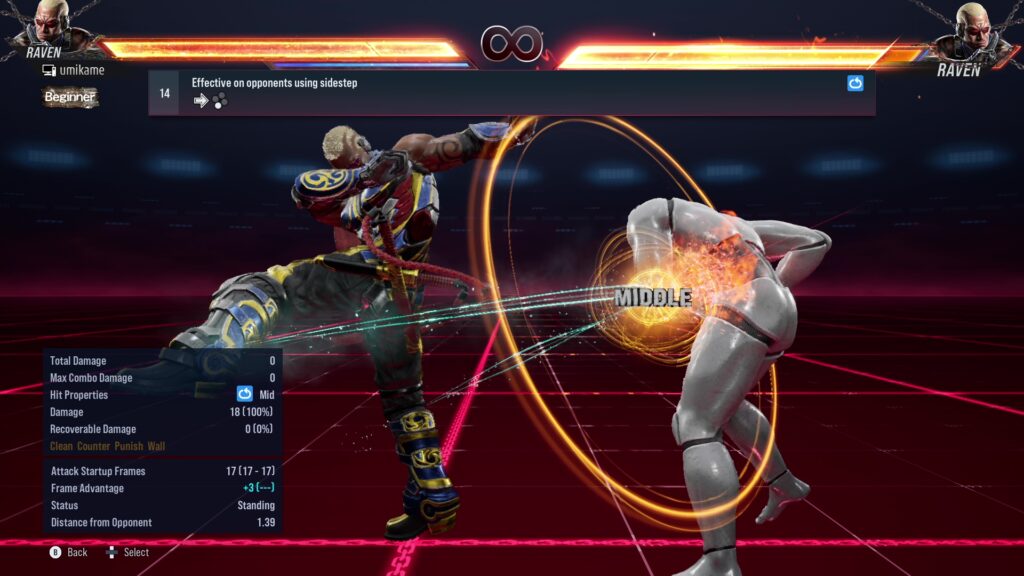
14.Effective on opponents using sidestep
| Explanation | Note |
|---|---|
| f+4 |
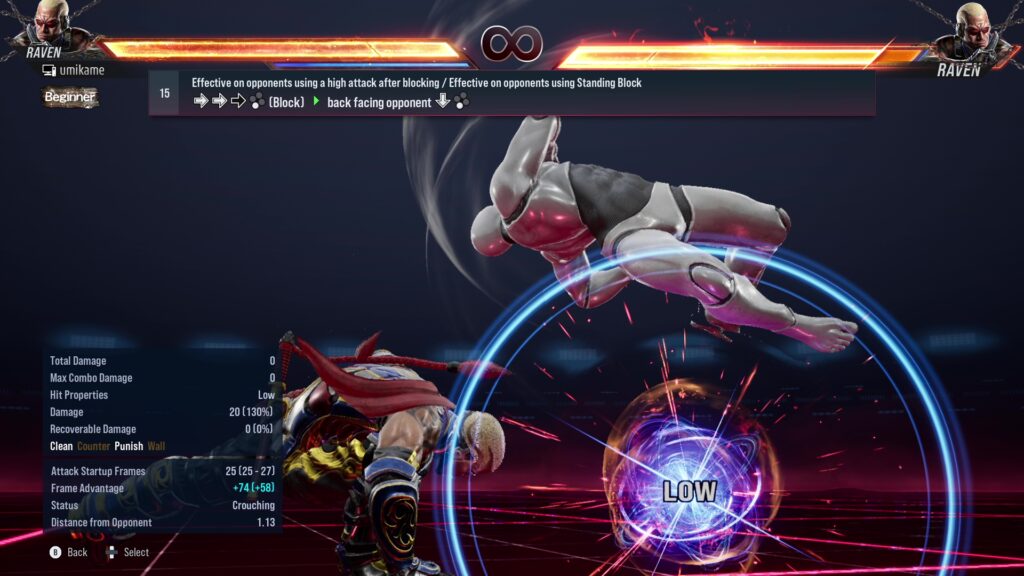
15.Effective on opponents using a high attack after blocking / Effective on opponents using Standing Block
| Explanation | Note |
|---|---|
| fff+3〔Block〕→back facing opponent d+3 |
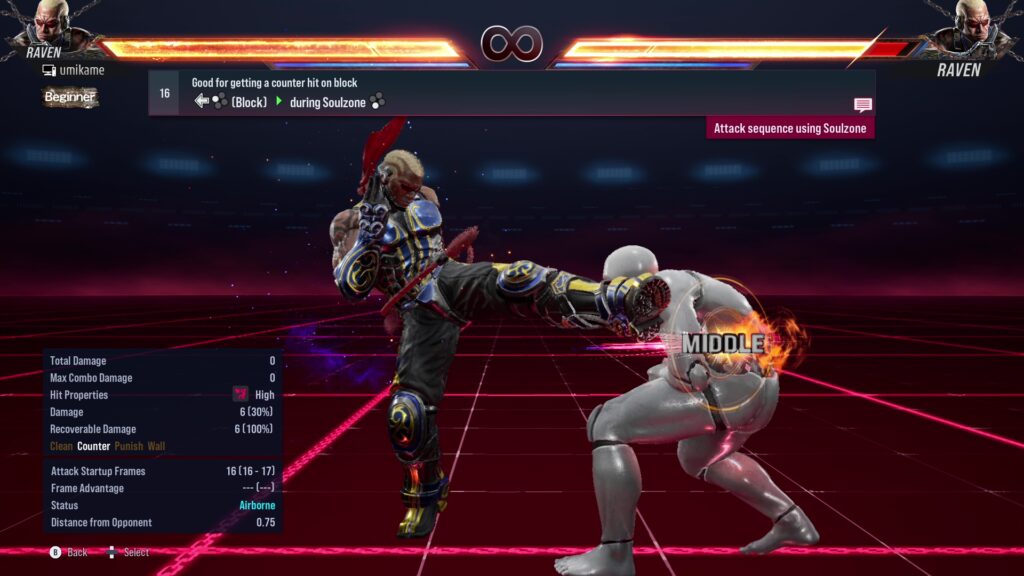
16.Good for getting a counter hit on block
| Explanation | Note |
|---|---|
| b+1〔Block〕→during Soulzone 3 | Attack sequence using Soulzone |
17.Can approach from a distance / Good for getting a counter hit on hit
| Explanation | Note |
|---|---|
| 3+4→during Soulzone 4〔Hit〕→while rising 4 |
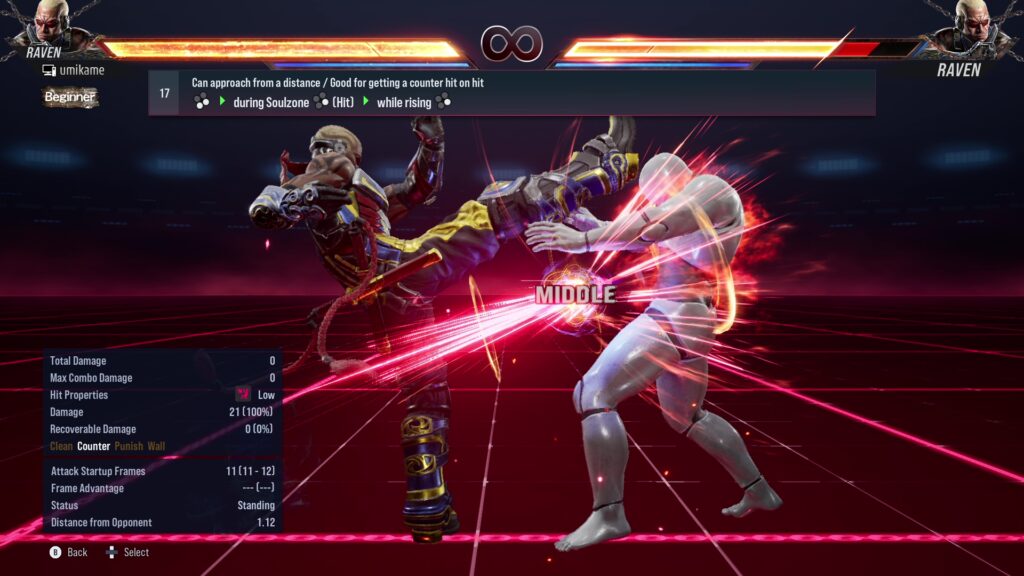
18.Can approach from a distance / Effective on opponents using Standing Block
| Explanation | Note |
|---|---|
| 3+4→during Soulzone 4〔Hit〕→while crouching df+3+4 |
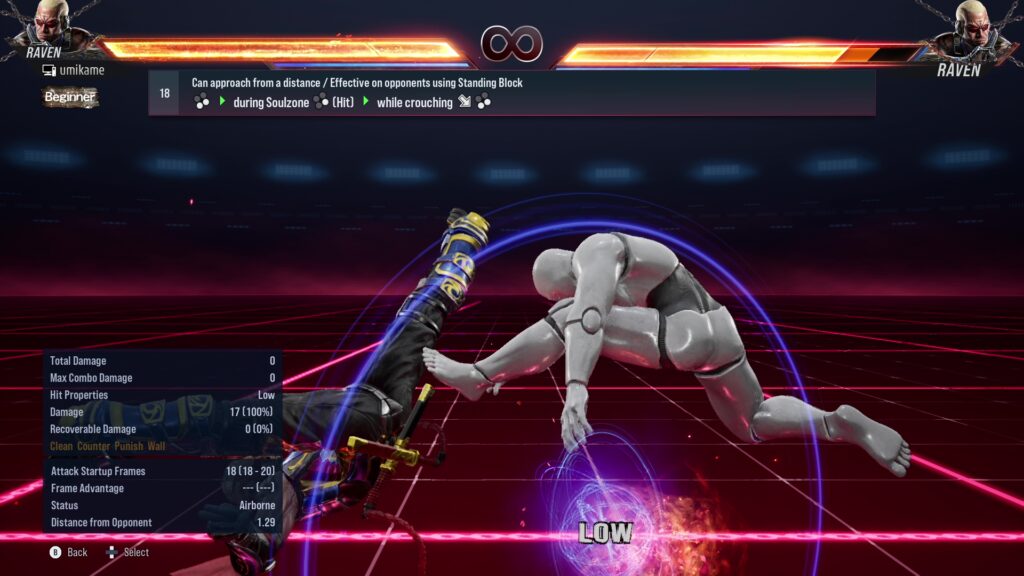
19.Can approach from a distance / Effective on crouching opponents after a hit
| Explanation | Note |
|---|---|
| 3+4→during Soulzone 4〔Hit〕→while rising 3 on hit or block 2 |
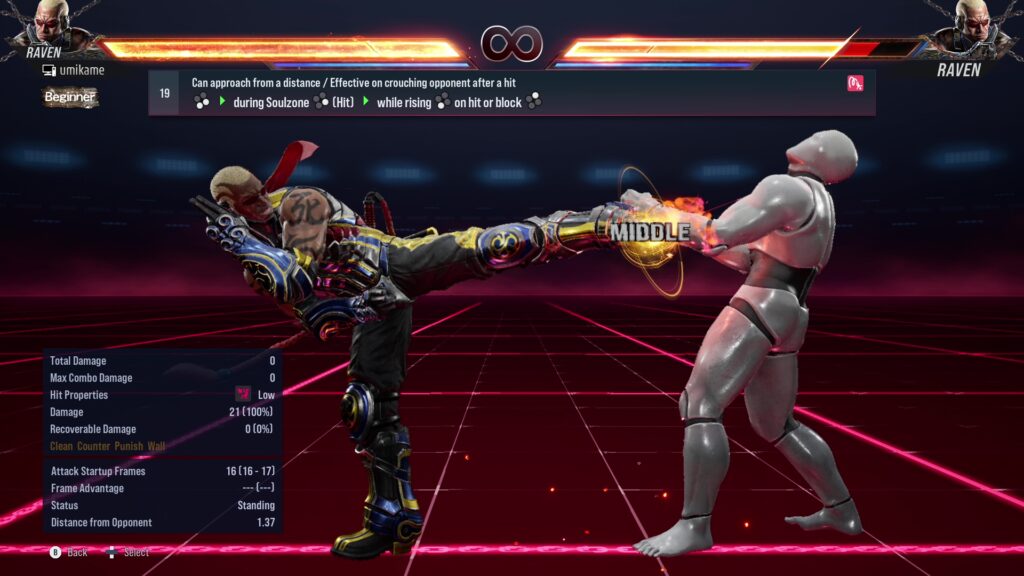




コメント